DIY TABLE MAKEOVER

Hi loves!
Hope you all are having a great weekend so far :) Mine has been lovely and productive at the same time. From time to time I get the energy to try new DIY projects. Actually, I've been dying to be part of this gold fever and try the spray paint everybody is talking about. And, guess what? It's AMAZING!!! I get it now. I also want to gold-spray everything around! - it might actually happen hehe.
I've had these nesting tables from IKEA for years now. They are super useful as they can easily be moved around the house and help create reading nooks or serve as cocktail tables. The thing is: I was so tired of their look. So, I decided to give them a makeover!


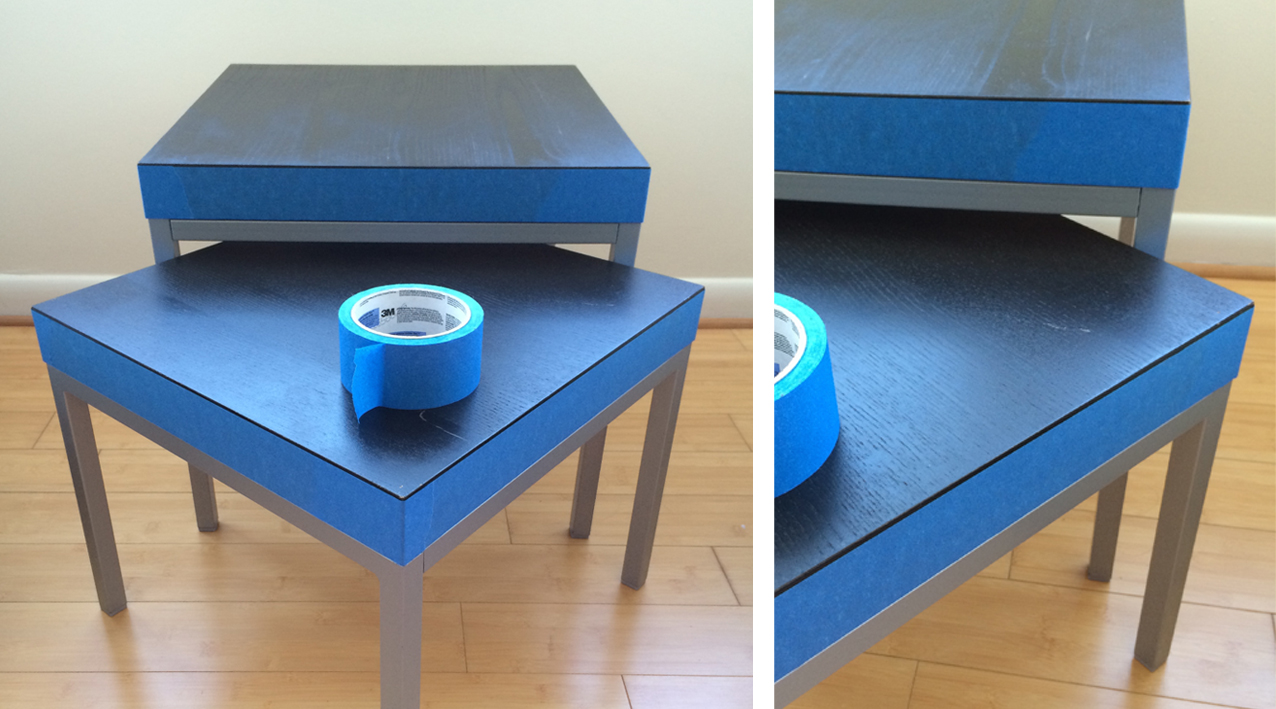
I used this marble-like contact paper and this gold spray paint. There are so many other options in the market, but these two products work very well for me. Paint dried fast and the contact paper looks fantastic. Besides these basics, I used some painter tape and obviously my exacto knife. As you can see in the picture above, I covered the table top with the tape before painting. Spraying it was a breeze and it only needed two light coats to look fab. 24 hours later it was completely dried and ready to be covered with some fake-marble ;)


The width of the contact paper was large enough to cover the table tops without having to patch them. What I had to do though, was to cover two sides of each table separately with long bands of contact paper but! they are barely noticeable. This paper holds very well to almost any surface and I used a credit card to get rid of bubbles and other imperfections.
And here are the results! :) What do you think? I'm loving how bright and different they look; and had a blast styling them! I know, this will be one of the pieces I will style the most and constantly move around the apartment. Right now, it seats in between my two favorite chairs and gets the lovely light in our living room. Perfect place for a mini orchid, don't you think?


We are in the process of getting some window treatments, so the curtain you see in the pictures is just temporary. Special thanks go to my mom who's visiting these days and helped holding the curtain for the photo shoot! Gracias mami! <3 Este post y todo es aún más especial porque estabas tú conmigo.
I have to say, this whole project was inspired by so many bloggers that were using these materials - Thank you ALL for your fabulous and inspiring work, always! I hope to be able to inspire you to dare to give your spaces a fresh look - anytime you want! If you have any questions about the process, please let me know! I would love to give you more details/tips if you need them :)
Thanks for passing by! Keep yourself inspired! xx.

WE WERE FEATURED!
This project was featured on Better Homes & Garden - 12 Ways to Make Everything Marble. See more of our published work in here.
